
Perfect gluten free banana bread with simple ingredients and easy instructions.
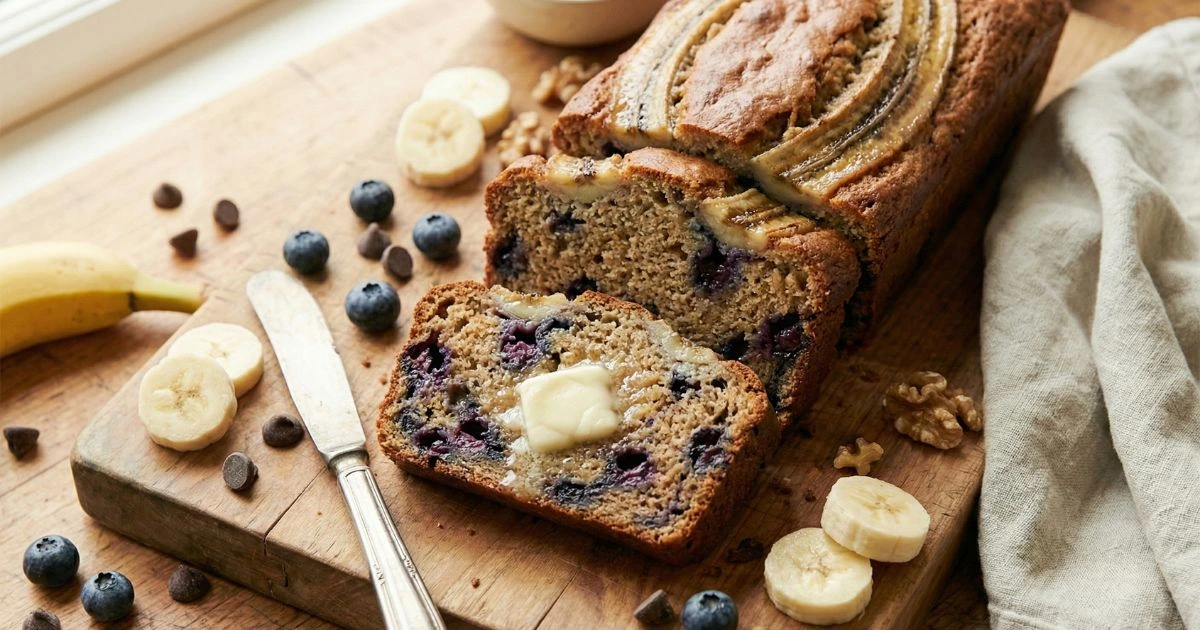

Best Gluten Free Banana Bread Recipe
Ingredients
Method
- - Preheat 350°F, line 9x5" pan with parchment
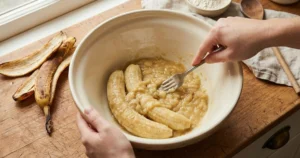
- - Mash 3 very ripe bananas in large bowl
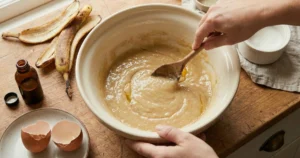
- - Mix in: ⅓ cup melted butter, ¾ cup sugar, 2 eggs, 1 tsp vanilla
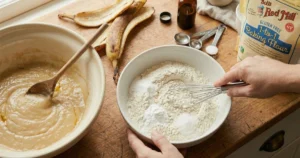
- - Whisk separately: 2 cups GF flour, 1 tsp baking soda, ½ tsp baking powder, ½ tsp salt
- - Gently fold dry into wet (don't overmix!)
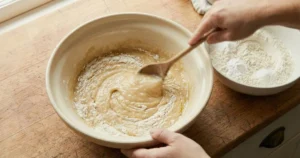
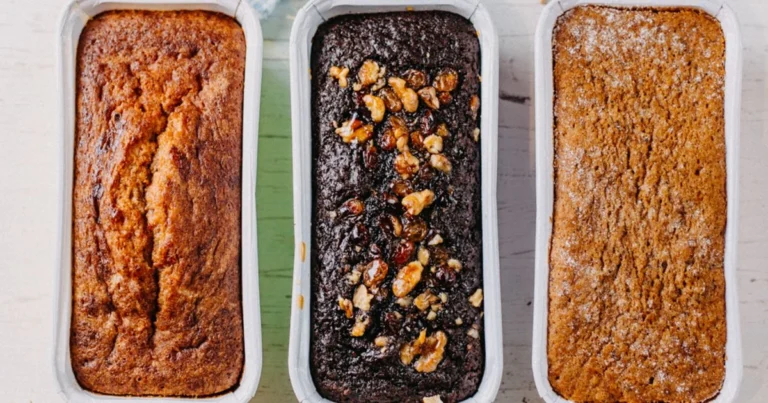
- - Optional: fold in chocolate chips, nuts, or blueberries
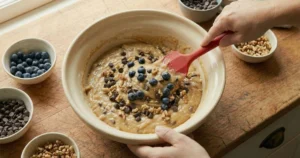
- - Pour in pan, top with banana slices + sugar (optional)
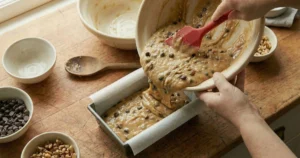
- - Bake 50-60 min (tent with foil if browning at 35 min)
- - Test with toothpick, should come out clean
- - Cool 10 min in pan, then on wire rack
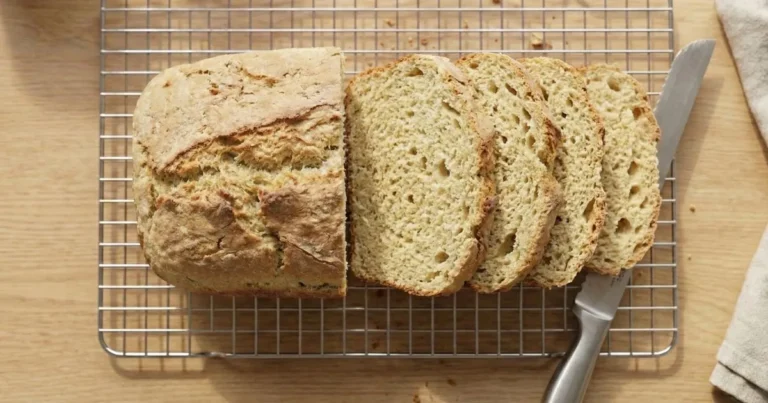
- - Slice only when completely cool
Notes
The Secret to Gluten Free Banana Bread That Even Wheat-Eaters Crave
There’s something magical about the smell of banana bread baking in your kitchen. It’s comfort in edible form, the kind of recipe that turns overripe bananas into something wonderful, and honestly? It’s the kind of comfort food that makes any space feel warm and welcoming.
But if you’re gluten-free, whether by choice or necessity, you might have thought those days of easy, delicious banana bread were behind you. Here’s the good news: they’re absolutely not. Here’s what makes this recipe special: it’s insanely moist, bursting with banana flavor, and shockingly simple to make. Honestly? No one will have a clue there’s no wheat flour in it.
I promise you don’t need a pantry full of mysterious ingredients or any special baking skills. Just some very ripe bananas (you know, those brown-spotted ones you keep meaning to use), a good gluten-free flour blend, and about ten minutes of actual hands-on time. That’s it. You’ll be amazed at how simple this is to make.
Why This Gluten Free Banana Bread Recipe Works
Let me tell you why this recipe is different from those disappointing gluten-free attempts you might have tried before. The secret is pretty simple: we’re working with the nature of gluten-free flour, not fighting against it.
Traditional banana bread gets its structure from gluten, those stretchy proteins that form when wheat flour gets wet. But gluten-free baking? It works on a completely different principle. The combination of a quality gluten-free flour blend (which usually contains xanthan gum or guar gum as a binder) plus the natural moisture and starch from very ripe bananas creates a texture that’s actually more tender and moist than many wheat-based versions.
Your bananas are doing serious work here. Those brown spots you see? That’s the starch converting to sugar, which means more sweetness and better flavor. The banana also adds moisture and helps bind everything together. According to the Celiac Disease Foundation, successful gluten-free baking is all about understanding ingredient function, and bananas are basically your secret weapon in this recipe.
The best part? People who aren’t gluten-free won’t even know the difference. This tastes like the banana bread you remember—maybe even better.
Key Ingredients for Delicious Gluten-Free Banana Bread
The Essentials
Let’s talk about what you need. Everything here is probably already in your kitchen, except maybe the gluten-free flour if you’re just starting your gluten-free journey:
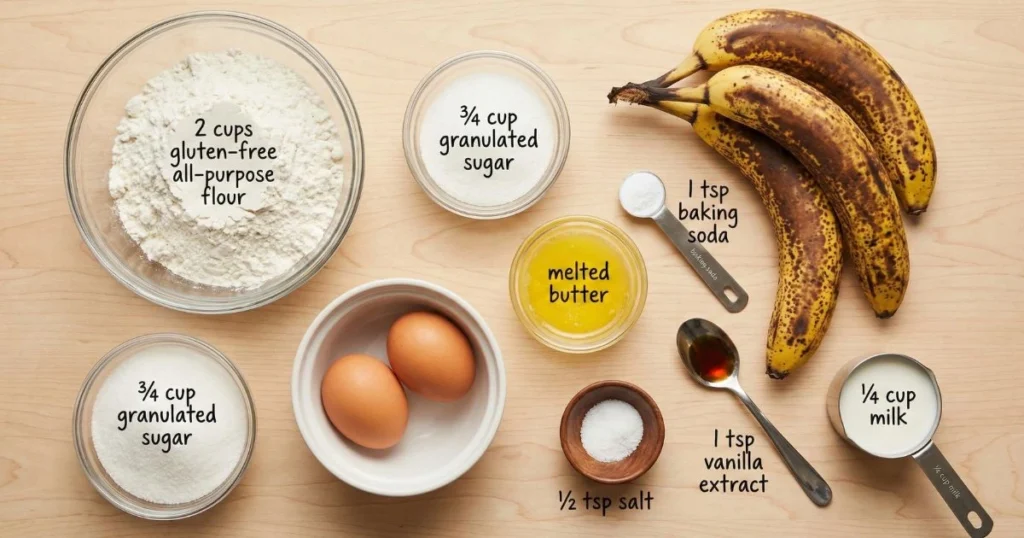
- 3 large very ripe bananas (the browner, the better, seriously, don’t use yellow ones)
- 2 cups (280g) gluten-free all-purpose flour blend (I love Bob’s Red Mill 1-to-1 or King Arthur Measure for Measure)
- ¾ cup (150g) granulated sugar (or coconut sugar for a deeper flavor)
- 2 large eggs (room temperature works best)
- ⅓ cup (75g) melted butter or coconut oil
- 1 teaspoon baking soda
- ½ teaspoon baking powder
- ½ teaspoon salt
- 1 teaspoon vanilla extract
- ¼ cup (60ml) milk or non-dairy milk (optional, but helps with moisture)
Make sure your gluten-free flour blend includes xanthan gum, check the label. If it doesn’t, add ½ teaspoon to your dry ingredients. This is what helps everything hold together beautifully.
Optional Add-Ins to Make It Your Own
This is where you can have some fun and customize your gluten free banana bread to match your mood:
- ½ cup chocolate chips (because everything’s improved with chocolate)
- ½ cup chopped walnuts or pecans (toasted for extra flavor)
- 1 teaspoon cinnamon (adds warmth and depth)
- ¼ teaspoon nutmeg (pairs beautifully with banana)
- ⅓ cup shredded coconut (for tropical vibes)
- ½ cup fresh or frozen blueberries (don’t thaw if frozen)
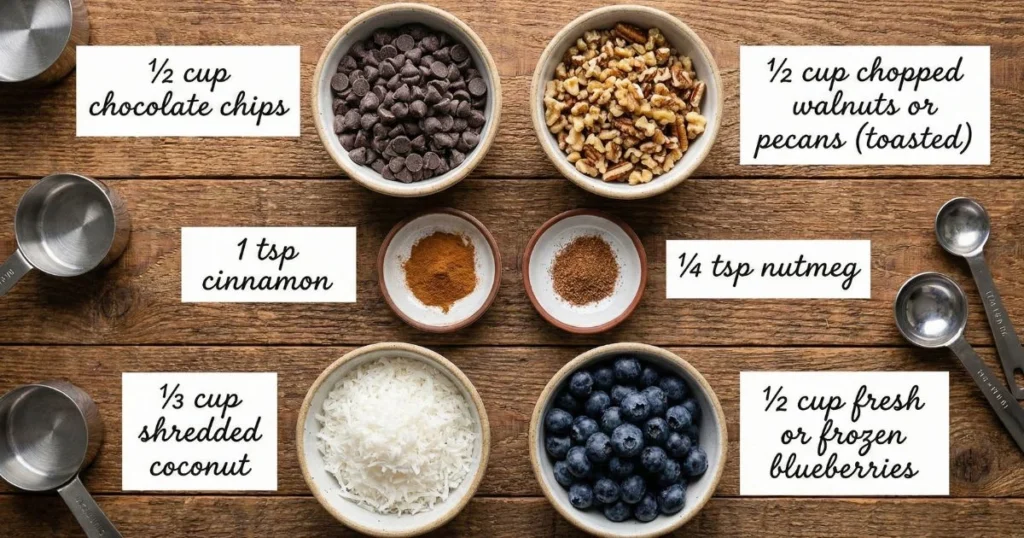
Feel free to mix and match! My personal favorite is chocolate chips and walnuts together, it’s basically dessert for breakfast, and I’m not sorry about it.
Ingredient Substitutions and Swaps
Things don’t always go as planned, and sometimes you have to make do with what’s available. Here’s what you can swap:
For dairy-free: Use coconut oil instead of butter and any plant-based milk. Your bread will still be perfectly moist and delicious.
For less refined sugar: Coconut sugar works beautifully, or you can use ¾ cup maple syrup or honey (reduce the milk by 2 tablespoons if you do this).
For a plant-based or egg-free option: Substitute every egg with a flaxseed mixture, combine 1 tablespoon of ground flax with 3 tablespoons of water and allow it to rest for 5 minutes before using. You’ll get a slightly heavier texture, but it’ll still turn out well.
Different flours: If you want to use almond flour, you’ll need to adjust the recipe significantly, almond flour behaves very differently. Stick with a gluten-free all-purpose blend for this recipe, and you’ll have much better success. You can find more information about gluten-free flour options at King Arthur Baking.
Step-by-Step Instructions for Making Gluten Free Banana Bread
Prep Work (5 Minutes)
First things first, let’s get organized:
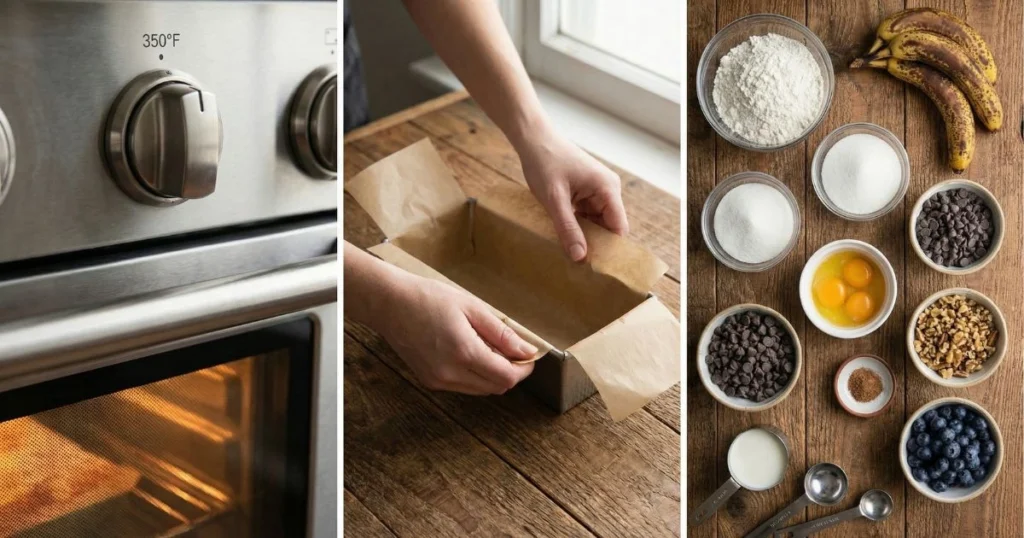
- Preheat your oven to 350°F (175°C). Don’t skip this! Ensuring your oven reaches the correct temperature before baking is essential for consistent results.
- Prepare your loaf pan. Butter or spray a 9×5-inch loaf pan, then line the bottom and sides with parchment paper. Pro tip: let the parchment hang over the sides, it creates handles for easy removal later.
- Gather and measure everything. This is called “mise en place” in fancy cooking terms, but really it just means you won’t be scrambling around looking for vanilla extract with banana-covered hands.
Mixing the Batter (5 Minutes)
This is where the magic happens, and it’s genuinely hard to mess this up:
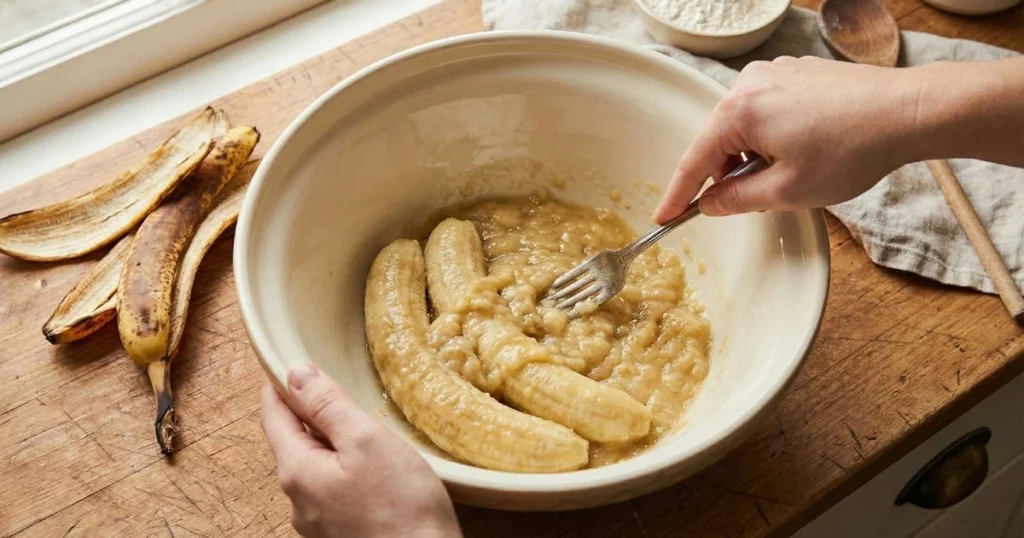
- Mash your bananas in a large mixing bowl. Use a fork or potato masher and get them pretty smooth, a few lumps are totally fine, but you want mostly smooth. This should yield approximately 1½ cups of banana puree.
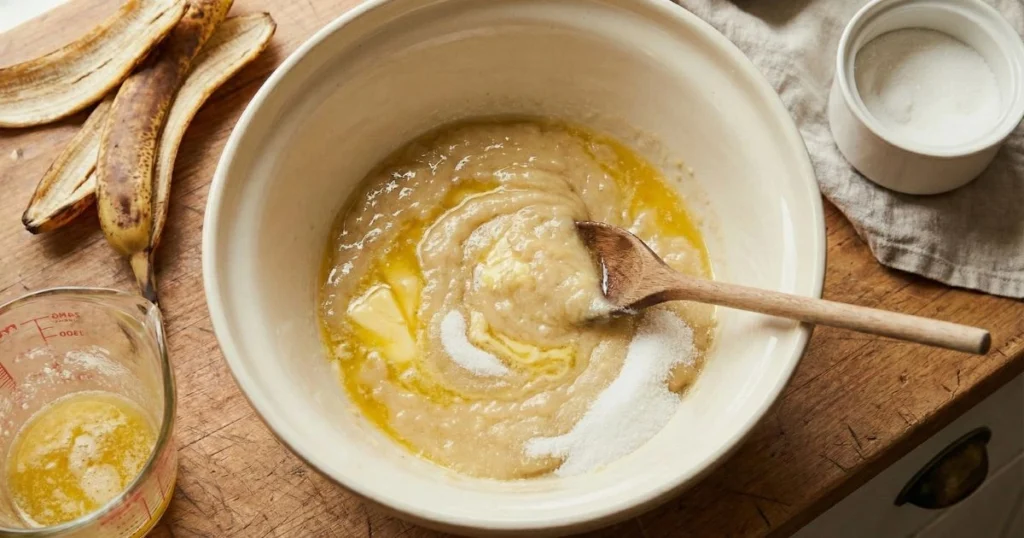
- Add the melted butter and sugar to your bananas. Stir them together until everything is well combined. The sugar might look a little grainy—that’s normal.
- Mix in the eggs and vanilla. Stir in one at a time, ensuring each is well blended before adding the next. Your mixture will start looking more cohesive now.
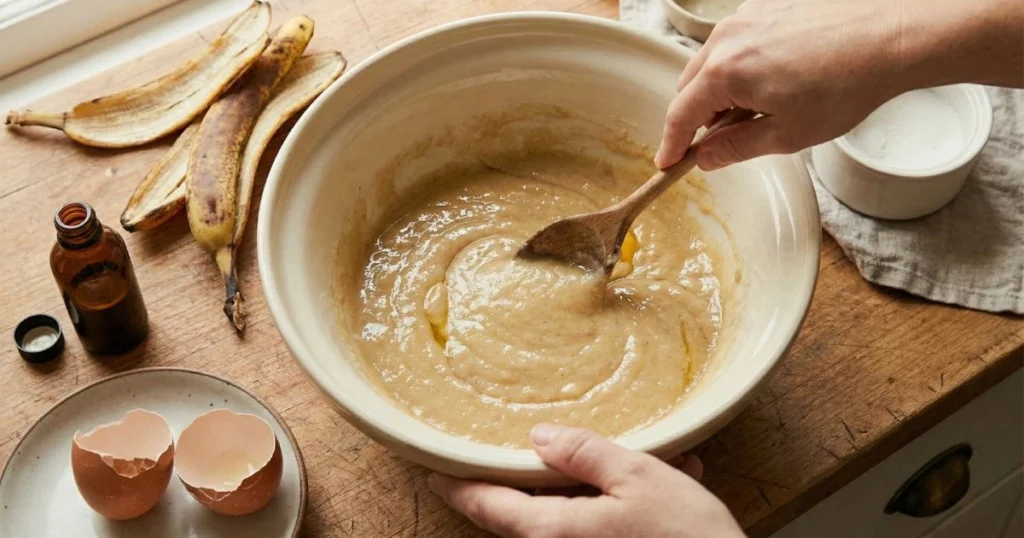
- In a separate bowl, whisk together your dry ingredients: the gluten-free flour, baking soda, baking powder, and salt. This ensures everything is evenly distributed.
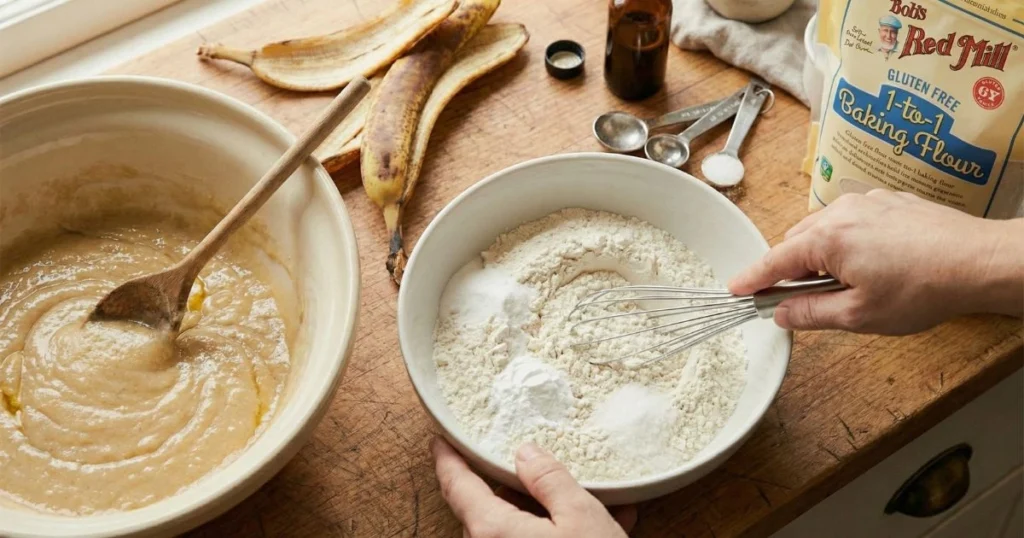
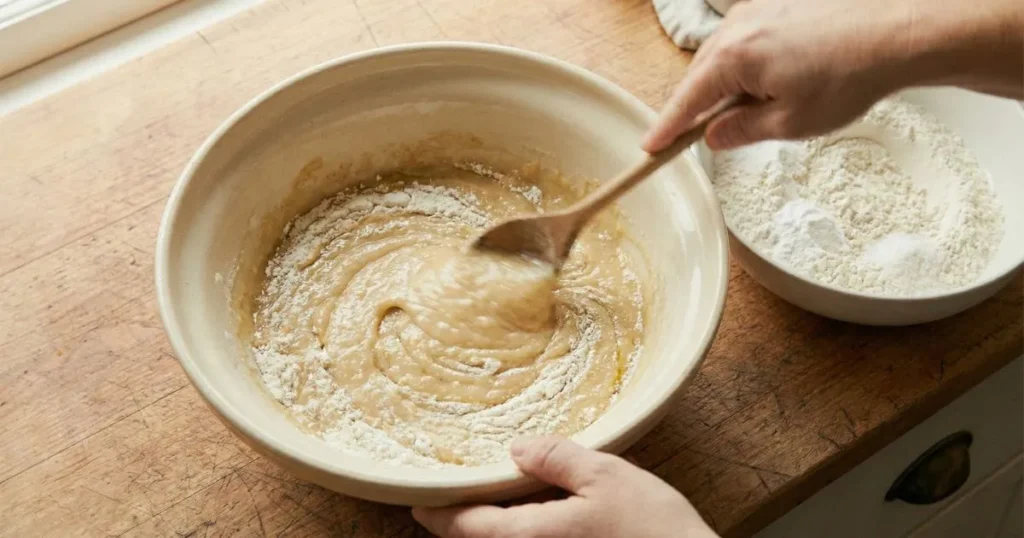
- Add the dry ingredients to your banana mixture. Here’s the important part: stir gently just until you don’t see dry flour anymore. Don’t overmix! It’s okay if there are a few streaks. Overmixing can make gluten-free baked goods gummy.
- If you’re using add-ins (chocolate chips, nuts, etc.), fold them in now with a spatula.
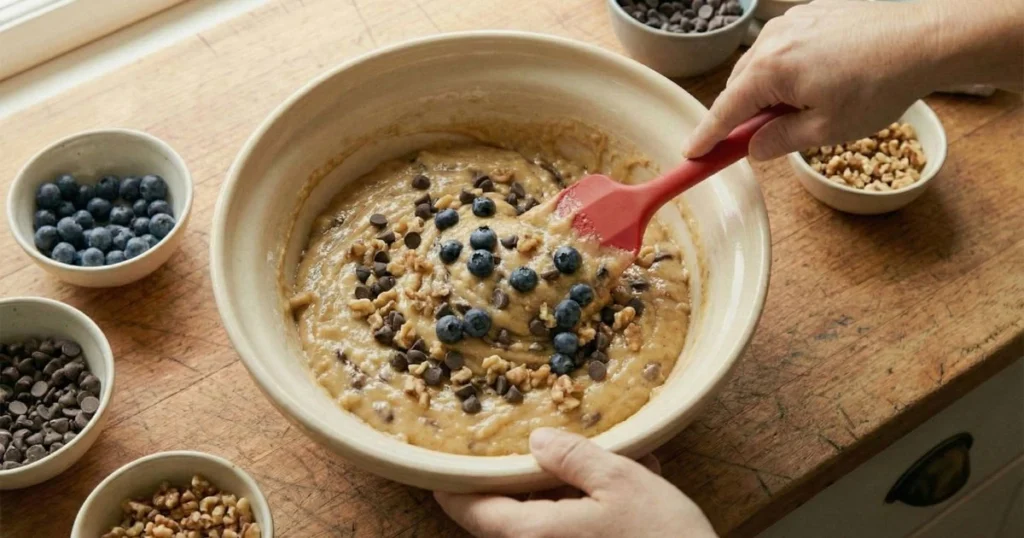
The batter should be thick but pourable. If it seems too thick, add your optional milk one tablespoon at a time.
Baking Your Banana Bread
- Spoon the mixture into your ready pan and level the top using a spatula. For a pretty touch, you can slice an extra banana lengthwise and lay it on top, or sprinkle a little sugar for a crunchy crust.
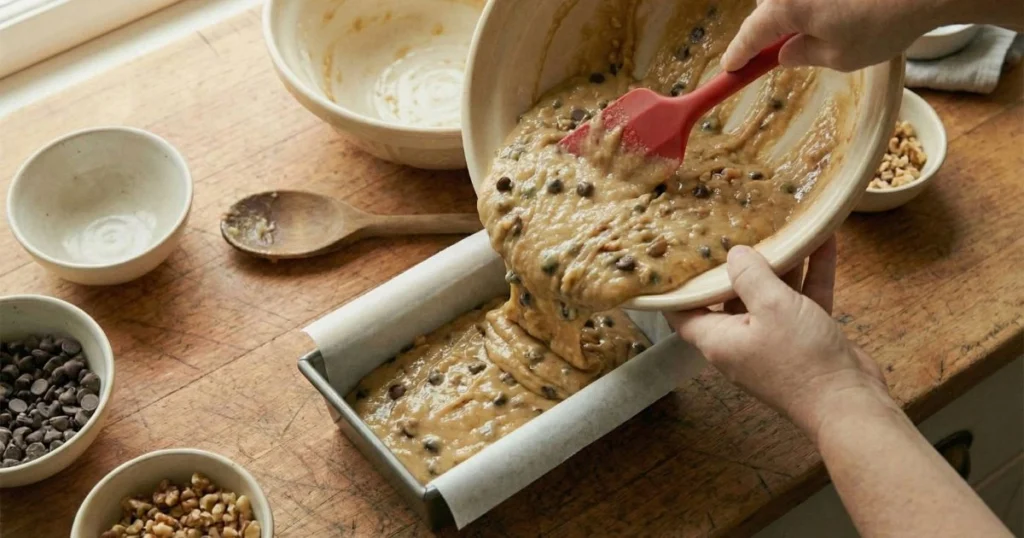
- Bake for 50-60 minutes. I know that’s a range, but ovens vary! Start checking at 50 minutes by inserting a toothpick or knife into the center. You’re looking for a clean result or a few moist crumbs clinging to it, but no liquid batter.
- If the top is browning too quickly (around 35-40 minutes), tent it loosely with aluminum foil. This lets it keep baking without burning the top.
- Keep the oven closed for at least the first 40 minutes of baking. I know it’s tempting to peek, but that blast of cool air can make your bread sink in the middle.
Cooling and Storage
This might be the hardest part, waiting!
Let your gluten free banana bread cool in the pan for about 10 minutes. Use the overhanging parchment as grips to transfer it directly onto a cooling rack. Give it another 20 minutes of cooling time before you slice. I know it smells incredible, but cutting it too soon will give you gummy slices. Trust me on this one.
Storage tips:
- At room temperature: Seal well in plastic wrap or keep in an airtight container for up to 3-4 days.
- Refrigerator: Up to a week (great for meal prep!)
- Freezer: Wrap individual slices in plastic wrap, then store in a freezer bag for up to 3 months. Simply toast a slice for an easy breakfast.
Pro Tips for the Best Gluten Free Banana Bread Every Time
After preparing this recipe repeatedly, I’ve picked up these helpful tricks:
- Use ridiculously ripe bananas. I mean it. Brown spots, even mostly brown, that’s when they’re perfect. The more ripe your bananas, the better the taste and sweetness of your bread.
- Bring your eggs and butter to room temperature. They mix together much more smoothly, creating a better texture in your final bread.
- Measure your flour correctly. With gluten-free flour, this is extra important. Measure using the spoon-and-level technique: gently spoon flour into your measuring cup and sweep off the excess with a knife. Avoid scooping straight from the bag, as this packs in too much flour and results in dry bread.
- Make sure to add xanthan gum if it’s not already in your flour blend. It’s the glue that holds everything together in gluten-free baking.
- Line your pan with parchment paper. Yes, even if you greased it. This is your insurance policy against a loaf that won’t come out cleanly.
- Test for doneness in the center, not near the edges. The edges always cook faster, so you need to check the very middle of your loaf.
Troubleshooting Common Gluten Free Banana Bread Problems
Why Is My Banana Bread Too Dense?
If your bread came out heavy and dense, a few things might have happened. The most common culprit is overmixing—those vigorous stirs develop too much structure and create a heavy texture. Stir just until combined! Old baking soda or baking powder can also be the problem (they lose potency after about 6 months). Finally, make sure you’re using enough liquid, very dry batter makes very dense bread.
Why Does Banana Bread Collapse in the Middle?
That disappointing crater in the middle usually means one of three things: your oven temperature was too high (causing the outside to set while the inside was still liquid), you opened the oven door too early (temperature drop!), or the bread wasn’t fully baked even though it looked done. Get an oven thermometer, they’re cheap and will save you so much frustration.
Why Is My Banana Bread Dry or Crumbly?
Too much flour is usually the villain here. Remember that spoon-and-level method? It matters! Overbaking will also dry out your bread (check it at 50 minutes, not 60). And make sure your bananas are very ripe, they’re your primary moisture source.
Don’t worry if your first loaf isn’t perfect. Even “mistakes” usually taste pretty good, and you’ll nail it next time!
Serving Suggestions and Enjoying Your Banana Bread
Your gluten free banana bread is incredibly versatile. Here’s how I love to enjoy it:
Breakfast idea: Lightly toast a slice and add a spread of almond butter or cream cheese. Add a drizzle of honey and you’ve got a breakfast that feels indulgent but keeps you full.
As a snack: Room temperature with a smear of salted butter. Simple and perfect.
As a sweet treat: Gently heat a slice and serve with vanilla ice cream on top. Absolutely incredible.
Alongside coffee or tea: This bread complements your morning coffee or afternoon tea perfectly. The banana flavor doesn’t overpower, so it complements whatever you’re drinking.
If you’re meal-prepping, this bread is fantastic. Make it on Sunday, slice it up, and you’ve got grab-and-go breakfasts all week. Looking for more gluten-free breakfast ideas? Check out these easy gluten-free breakfast recipes that pair perfectly with your morning coffee.
You May Also Like
Your New Go-To Gluten Free Banana Bread Recipe
You did it! You now have a foolproof recipe for gluten free banana bread that actually tastes amazing. This is the kind of recipe that becomes a staple—the one you make when you need to bring something to a potluck, when you have bananas going brown on the counter, or when you just want your house to smell like love.
The beautiful thing about gluten-free baking is that it’s truly for everyone. Whether someone in your family has celiac disease, you’re managing a gluten sensitivity, or you’re just exploring different ways of eating, this bread proves you don’t have to sacrifice flavor or texture.
Make it yours by trying different add-ins. Double the recipe and freeze extra loaves. Give slices to neighbors. Whatever you do, don’t let those overripe bananas go to waste anymore.
Now, go preheat that oven. Your kitchen is about to smell incredible, and you’re about to pull off a baking win. And when someone takes a bite and asks, “Wait, this is gluten-free?” you can simply bask in the glory of creating banana bread that everyone loves.
Frequently Asked Questions About Gluten Free Banana Bread
Can I make gluten free banana bread without a special flour blend?
You can try using almond flour or oat flour (make sure it’s certified gluten-free), but you’ll need to adjust the recipe significantly. Almond flour absorbs less liquid and creates a denser texture, so you’ll want to use about 2½ cups and add an extra egg. Honestly? For your first attempt, stick with a good all-purpose gluten-free blend like Bob’s Red Mill or King Arthur. These blends are designed to behave like conventional flour, giving you far more consistent outcomes.
How ripe should bananas be for banana bread?
The riper, the better! Look for bananas with lots of brown spots, or even bananas that are mostly brown. The peels might even be a little black. At this level of ripeness, starches have broken down into sugars, boosting both sweetness and taste. They’re also easier to mash. If your bananas aren’t ripe enough, you can speed things up by baking them (unpeeled) at 300°F for about 15-20 minutes until the skins turn black.
Can I freeze gluten free banana bread?
Absolutely! This bread is perfect for freezing and keeps well for up to 3 months. Once fully cooled, wrap the entire loaf (or separate slices) securely in plastic wrap, then cover with a layer of foil. Or use a freezer-safe bag with all the air pressed out. To thaw, leave it on the counter for a few hours or overnight in the fridge. You can also pop frozen slices right into the toaster for a quick breakfast.
Which gluten-free flour do you recommend for making banana bread?
I’ve achieved excellent results using Bob’s Red Mill 1-to-1 Baking Flour and King Arthur Measure for Measure Flour. Both contain xanthan gum and are designed to replace regular flour cup-for-cup. Cup4Cup is another excellent option. The key is choosing a blend, not a single flour like almond or coconut flour those behave very differently and need recipe adjustments.
What causes the center of gluten-free banana bread to be gummy?
A gummy center usually means the bread is underbaked. Gluten-free batters require extra time to fully set in the center, so don’t rely on surface appearance alone the middle may still need additional baking. Be sure to insert a toothpick into the loaf’s very center to check for doneness. Also, make sure you’re not overmixing your batter overmixed gluten-free batter can develop a gummy texture. Finally, let it cool completely before slicing. Cutting into it too early won’t give the structure time to set properly.
Can I make this recipe dairy-free too?
Yes! Simply replace the butter with an equal amount of coconut oil or your favorite plant-based butter. Use any non-dairy milk (almond, oat, coconut—whatever you prefer). The texture and flavor will be virtually identical. This makes it a great option if you’re dealing with multiple dietary restrictions.
How long does gluten free banana bread last?
At room temperature, stored in an airtight container or wrapped tightly in plastic wrap, your bread will stay fresh for 3-4 days. In the refrigerator, it’ll last up to a week, though the texture might firm up a bit (just warm it slightly before eating). For longer storage, freeze it! Properly wrapped, it’ll maintain its quality for up to 3 months in the freezer.
Ready to bake? I’d love to hear how your gluten free banana bread turns out! Drop a comment below with your favorite add-ins, any questions, or just to let me know how it went. And if you love this recipe, share it with a friend who needs a great gluten-free treat in their life. Happy baking!
One Comment
Comments are closed.